To trim dog nails at home, first learn the technique from your veterinary team and help your dog become comfortable with paw handling. Only then consider a tiny trim from one nail, avoiding the quick and stopping for uncertainty or distress. This is educational guidance, not a professional demonstration or a treatment plan for painful, injured, or severely overgrown nails.
Before clipping, decide whether this is a home-care task
A home trim needs two prepared participants: a person who can control the tool and a dog who comfortably accepts the handling. Buying clippers does not supply either skill. The AKC's nail-trimming guide recommends that beginners ask a veterinarian or veterinary technician for a lesson.
Ask them to demonstrate on your dog's nails, explain where to stop, and watch you handle the equipment. Mention any previous painful trim, trouble standing, or fear of having feet touched. If nails are split, bleeding, curling into a pad, or associated with limping, arrange veterinary assessment instead of a practice session.
Severe fear or a risk of biting also changes the plan. Do not pin your dog down or recruit someone to overpower them. Your veterinarian can plan necessary care while you work on comfortable handling separately.
Use the lesson to agree on a clear stopping rule, not just a target appearance. Ask what to do if your dog withdraws, how to recognize uncertainty on each nail color, and whom to call if something goes wrong.
Set up light, secure footing, and inspected equipment
Choose a quiet place with enough light to examine each nail and a non-slip surface where your dog can rest comfortably. Keep the paw in a supported, natural position rather than pulling the leg toward you. If maintaining that position is difficult, ask your veterinary team to show a better setup.
Prepare suitable dog nail clippers, small treats your dog can safely eat, clean gauze, and a pet styptic product discussed with your veterinarian. Check the label before a problem happens. Keep the clinic's contact details accessible.
Inspect blades, alignment, handles, and moving parts before bringing the tool near a paw. Remove debris and clean equipment according to its manufacturer's instructions; dry it before storage. Damaged or unreliable clippers should be serviced or replaced, not tested on your dog. For equipment comparisons rather than procedure, use our dog nail-trimmer selection guide.
Teach comfortable paw handling before adding a cutting tool
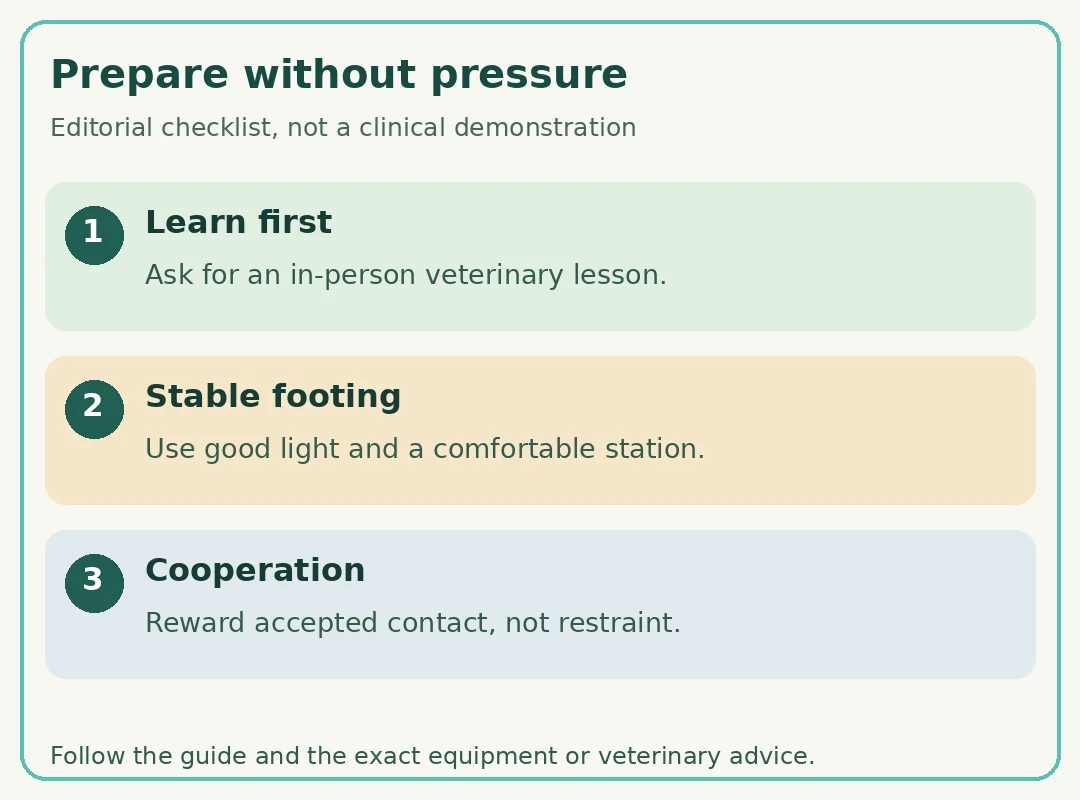
VCA's happy-handling guide separates learning the equipment from teaching a positive response to nail care. Begin with a touch your dog accepts easily. Glide a hand from the shoulder or hip down the leg, reward, and release. Work toward supporting a paw and gently touching an individual toe.
Change only as much as your dog comfortably accepts. A brief touch may be the entire session. Practice across separate sessions before expecting to hold a toe while also managing clippers. Progress depends on relaxed participation, not a calendar.
Introduce the sight of the clippers separately, pairing it with a reward. Later, repeat familiar paw handling while holding the tool without cutting. Once comfortable, let the tool briefly touch the nail tip, then reward and stop. VCA also suggests practicing tool control on dry pasta away from the dog before attempting a nail.
Watch for pulling away, trembling, panting, lip tension, or a suddenly rigid body. Freezing is not proof of cooperation. Pause and return to an easier stage; seek qualified help for persistent fear. Do not use food as a distraction to sneak in an unwanted cut.
Identify the quick only when it is actually visible
The quick contains blood vessels and nerves inside the nail. Cutting it causes pain and bleeding. On clear or white nails, it may be visible as a pink area within the harder outer nail. Examine each nail individually, and ask your veterinary team to confirm what you are seeing before trimming at home.
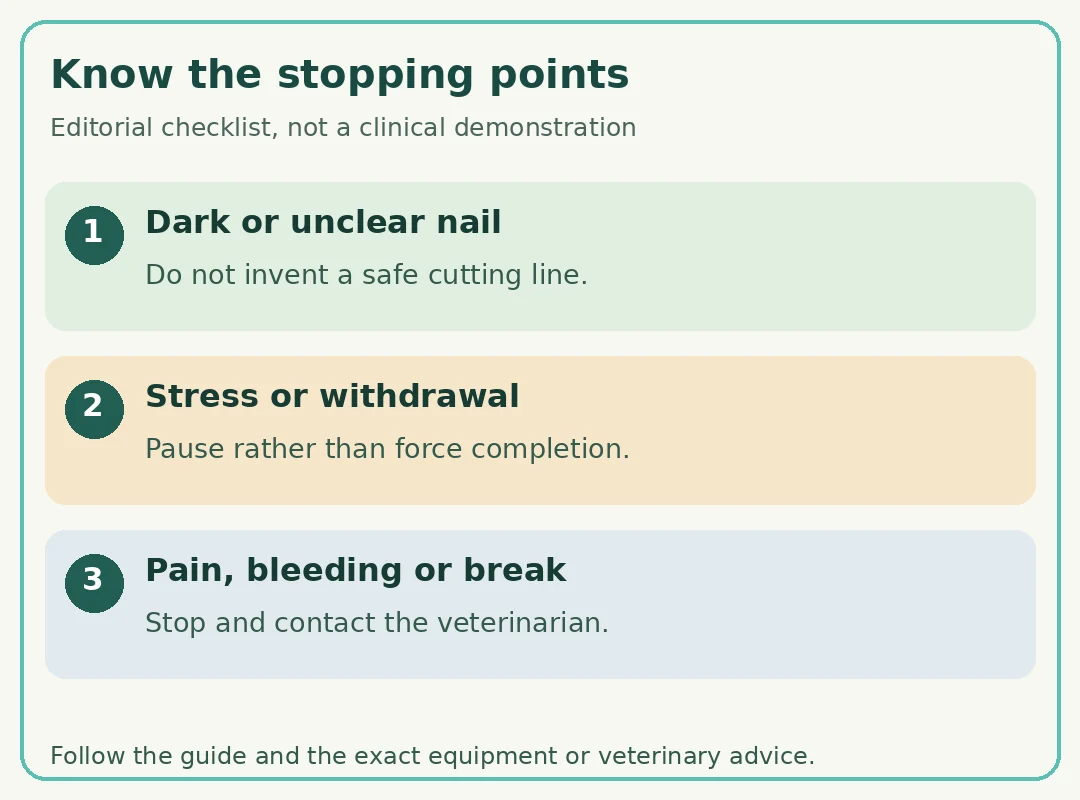
Dark nails hide the quick. A brighter lamp, a blade guard, or confidence with another paw does not make its location certain. If you cannot confidently judge a safe stopping point, stop and get an in-person demonstration or professional trim. Do not cut deeper to search for the quick.
VCA describes changes in the freshly cut surface that warn an experienced handler to stop. A written description is not enough to teach you to recognize them reliably on your dog. Unfamiliar color or texture means stop, not keep trimming until a particular dot appears.
Overgrown nails may also contain an extended quick. Do not try to restore a preferred length in one session or use another dog's cut as your template. Ask for an individualized plan.
After training and a demonstration, attempt one tiny trim
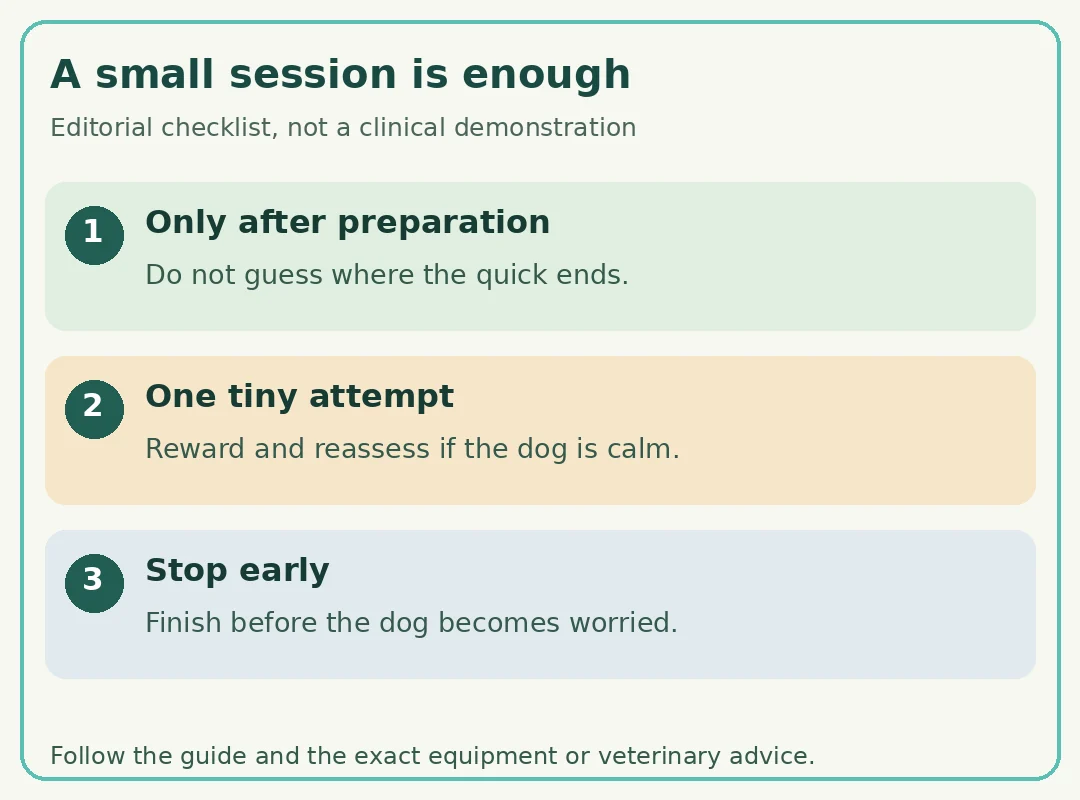
Proceed only when your dog remains comfortable through the rehearsal, you can use the tool steadily, and you understand the stopping point for that nail. If any condition is missing, stay with training or arrange professional help.
- Support and inspect. Gently support the paw and one toe using the position you were shown. Keep fur clear of the cutting edges and confirm an unobstructed view.
- Recheck the tip. Look again before positioning the clippers. Do not copy the amount removed from a neighboring nail.
- Remove only a tiny flake. VCA begins with a very small shaving from one nail tip, not a large shortening cut. Follow the tool placement demonstrated by your veterinary team.
- Withdraw and reward. Move the tool away, reward your dog, and take a break. Inspect the nail without automatically making another cut.
- Finish or defer. End immediately if you are uncertain, your dog becomes tense, or you notice pain or blood. One small trim can be the whole session.
This sequence has no universal cutting distance. The nail, the quick, visibility, your skill, and your dog's comfort all limit what is appropriate. A guard is not a substitute for those checks.
End the session before it becomes a struggle
You do not need to finish a paw, let alone every nail. VCA's stress-reduction guidance says not to rush or force the process and warns against forcible restraint or tricking a fearful dog with food.
Put the tool down when your dog moves away or withdraws the paw. Do not chase, scold, or hold tighter. A helper may offer rewards while your dog willingly stays nearby, but should not become a means of immobilizing a frightened animal.
Record which nail you trimmed so you do not repeat it accidentally next time. If needed care cannot wait for training, contact your veterinarian for a safe plan. Medication or sedation, when appropriate, belongs under veterinary direction, not a home workaround.
Stop for bleeding or pain and contact your veterinarian
If a nail bleeds, your dog cries out, or a nail splits, stop trimming. Contact your veterinarian for advice. Heavy bleeding, bleeding that does not stop, a torn nail, or marked pain needs urgent veterinary attention. Do not continue with the remaining nails while deciding what to do.
If your dog allows safe contact, apply gentle pressure with clean gauze or a clean towel while arranging help. A pet styptic product may be appropriate for a minor quick nick if your veterinarian has explained its use and you follow its label. Do not let repeated attempts at home delay care.
VCA's broken-nail guidance explains that painful damaged nails may need veterinary treatment. Do not pull off a broken piece, cut above a tear, attempt a nerve block, or copy a clinic's antibiotic or pain-medication regimen. Those are clinical decisions.
A painful dog may bite even if normally gentle. If touching the paw is unsafe, do not force first aid; call the clinic for handling and transport instructions.
Maintain nails through checks, not a universal deadline
Check nails during calm routine care, including dewclaws higher on the inner leg when present. They may not wear down through walking. Notice snagging, changes in shape, or altered comfort, and ask your veterinary team which signs and review interval matter for your dog.
If you use a grinder, it still requires separate familiarization and professional instruction. Remove only small amounts, keep hair clear, and use brief contacts with pauses because friction can heat the nail. A grinder does not make an uncertain quick or an unwilling dog safe to handle.
Nail checks do not always mean nails need cutting. Look at each foot in good light before reaching for equipment. A comfortable dog whose nails need no shortening can simply receive a reward for handling. If new sensitivity appears between sessions, treat that as a reason to contact the clinic, not a signal to increase your grip or persist with clipping.
Finish by cleaning and inspecting the tool and noting what your dog accepted comfortably. Keep nail work separate from other demanding tasks in your home grooming routine. Our gentle toothbrushing guide covers another handling skill that deserves its own gradual introduction.
Put this guide in context
Choose the next guide for the care question you actually have: dog claw trimmer; dog shampoo; how often to bathe a dog; dog toothbrush; canine grooming tools. These pages cover different decisions, rather than interchangeable products or a prescribed schedule.
Frequently Asked Questions
Can I trim my dog's nails without a demonstration?
If you are new to nail trimming, ask a veterinarian or veterinary technician to demonstrate on your dog first. Learn tool control, nail anatomy, and where to stop. Reading a guide prepares useful questions, but it cannot confirm that you can identify a safe cut on an individual nail.
How do I find the quick in black dog nails?
The quick is not visible through a dark nail. Do not assume a light, safety guard, or online diagram reveals its exact location. If you cannot confidently judge the stopping point, stop and ask your veterinary team for a demonstration or professional trim rather than experimenting with deeper cuts.
How much nail should I cut off at once?
There is no single safe distance for every nail. After training and a professional demonstration, begin with only a tiny flake from the tip of one suitable nail, reward, and pause. An extended quick or uncertain visibility can make even further shortening inappropriate. Stop whenever you are unsure.
Should I hold my dog still to finish every nail?
No. Do not pin down, chase, or overpower a dog who withdraws or becomes frightened. End the session and return to easier rewarded handling. One nail can be enough. If the nails need attention before training is complete, ask your veterinarian to arrange necessary care without forcing a home session.
What should I do if a nail bleeds or hurts?
Stop trimming and contact your veterinarian. If safe, use gentle pressure with clean gauze while arranging advice. Heavy or continuing bleeding, a torn nail, or marked pain needs urgent care. Do not remove damaged nail pieces, give unprescribed medication, or force handling when your dog may bite.
How often should my dog's nails be trimmed?
Use regular checks and your veterinary team's advice rather than a universal schedule. Growth, natural wear, nail condition, and handling tolerance differ. Include dewclaws, which may not wear through walking. Training sessions can involve no cutting at all, and a missed trim is not permission for a larger cut later.